Table of Contents
This note describes how to install and get started with the imperix C++ Software Development Kit (SDK).
Software installation
After registration, the installer of the CPP SDK can be downloaded directly from imperix’s website, at https://imperix.com/downloads/.
Download the latest version of CPP SDK, execute the installer, and follow the instructions.
C:\imperix\BB3_CPP_SDK and to avoid spaces or special characters in the pathname.User template retrieval
To launch the imperix C++ IDE, search for “imperix C++ IDE” in the Windows start menu and click on it, or use the desktop shortcut. The first launch of the IDE can be slower because Eclipse sets up the environment and makes some configuration.
The IDE will then ask for a workspace directory. The workspace is the location in your file system where Eclipse stores its preferences and other resources. Chose your workspace folder and click on Launch.
Once launched, the Eclipse environment will look like the following screenshot.
The first step is to retrieve the base source code from the root of the installation directory (by default located at C:\imperix\BB3_CPP_SDK\BB3_CPP_Template.zip)
Select File -> Import…
Under General, select Existing Projects into Workspace and click Next
Check the box Select archive file and browse the installation directory to find the zip file BB3_CPP_Template.zip and click on Finish
Code edition
Folders organization
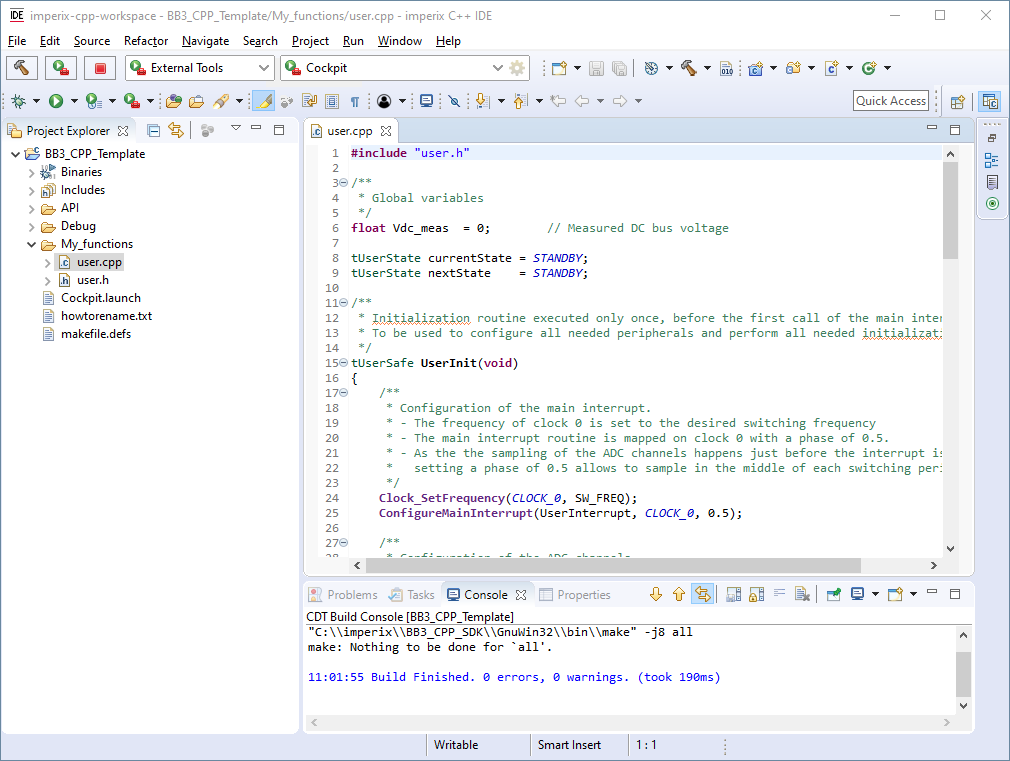
The picture below shows the coding environment of the imperix C++ IDE. The project template contains several folders (as shown in the Project Explorer on the left), which are organized as follows.
My_functions is the folder where all user files should be stored. By default, it contains only two files that the user can freely modify :
user.h, which typically contains the prototypes of the user-defined routines as well
as some data types definitions.user.cpp, which serves as the code root and contains the initialization and main interrupt
service routines used to control the application.
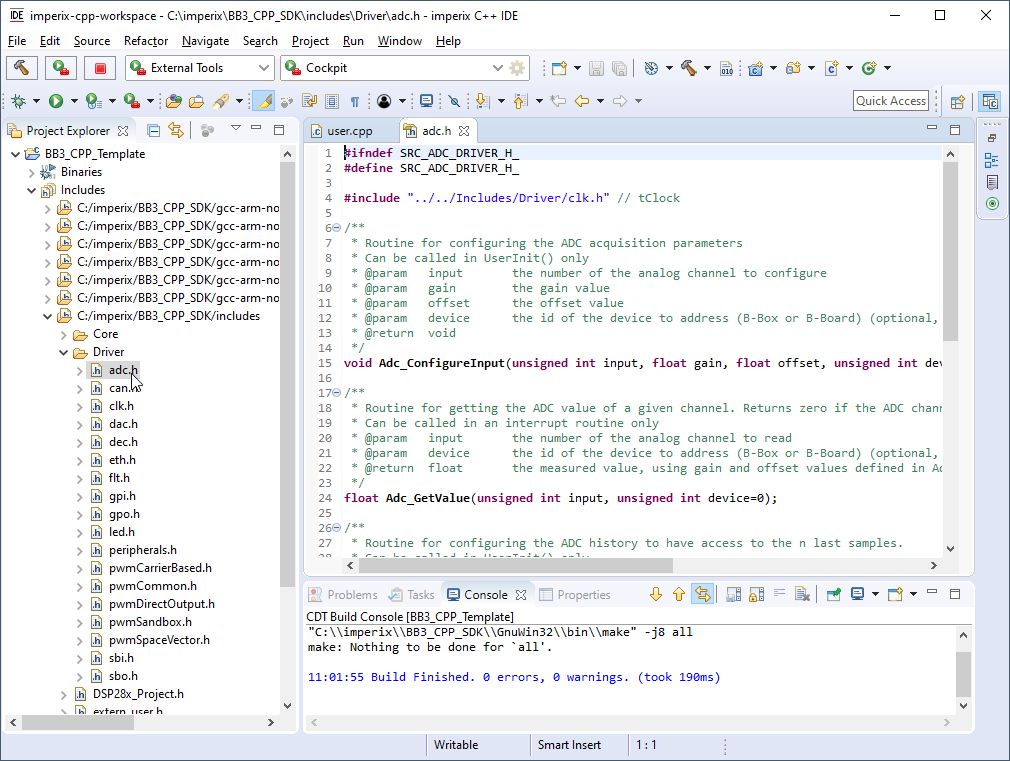
The Includes folder contains the headers of the corresponding user-accessible routines. By browsing the includes, the user can get a quick overview of the available peripheral driver routines, as well as all the necessary information regarding their use.
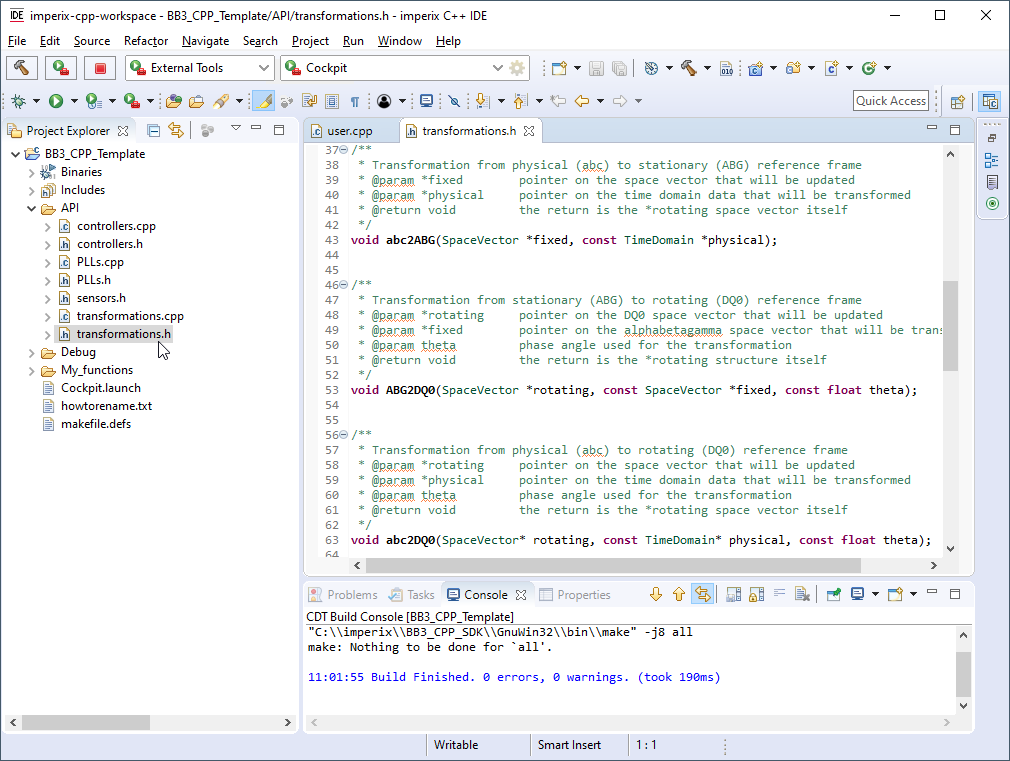
The API folder contains ready-to-use routines that are popular in power electronic applications (controllers, coordinate transformations, PLLs, data structures, etc… ). Users are recommended to use these predefined routines. If necessary, these routines can be modified.
The Debug folder contains all the files produced by the compilation of the project.
Cockpit.launch and makefile.defs are configuration files, they should not be modified.
Renaming the project
To rename the project, the following procedure should be followed. Due to an Eclipse bug, not following the procedure will lead to a resource is out of sync with the file system error.
- Right-click on the project, click Rename… (or press F2), and enter the new name
- Right-click on the project and click Properties (or press Alt+Enter)
- Click on C/C++ Build and select the Refresh Policy tab
- Delete the resource with the old project name
- Click Add Resource… and select the folder with the name of the project and click OK
- Click Apply and Close
Specifying the number of devices used
Since SDK 2025.1, as shown on the image below, Cockpit reads how many devices are used by the user code to properly display the assignment between the user code (project) and targets.
When using the ACG SDK, the number of used devices is automatically retrieved. With the CPP SDK however, users must explicitly specify this information using the NUMBER_OF_DEVICES macro, as illustrated below.
Alternatively, this information can be manually edited from Cockpit, using the No. of devices field.
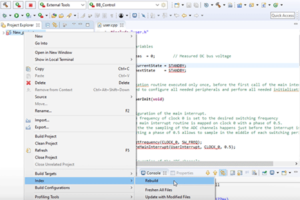
Right-click on the project → Index → Rebuild
Code compilation
The compilation can be manually launched by clicking on the “Build” icon at the top left corner of the IDE, or by pressing “CTRL+B”. The console window displays build information as well as any errors. The executable is generated in the “debug” folder (.elf file)
Loading the code into the device
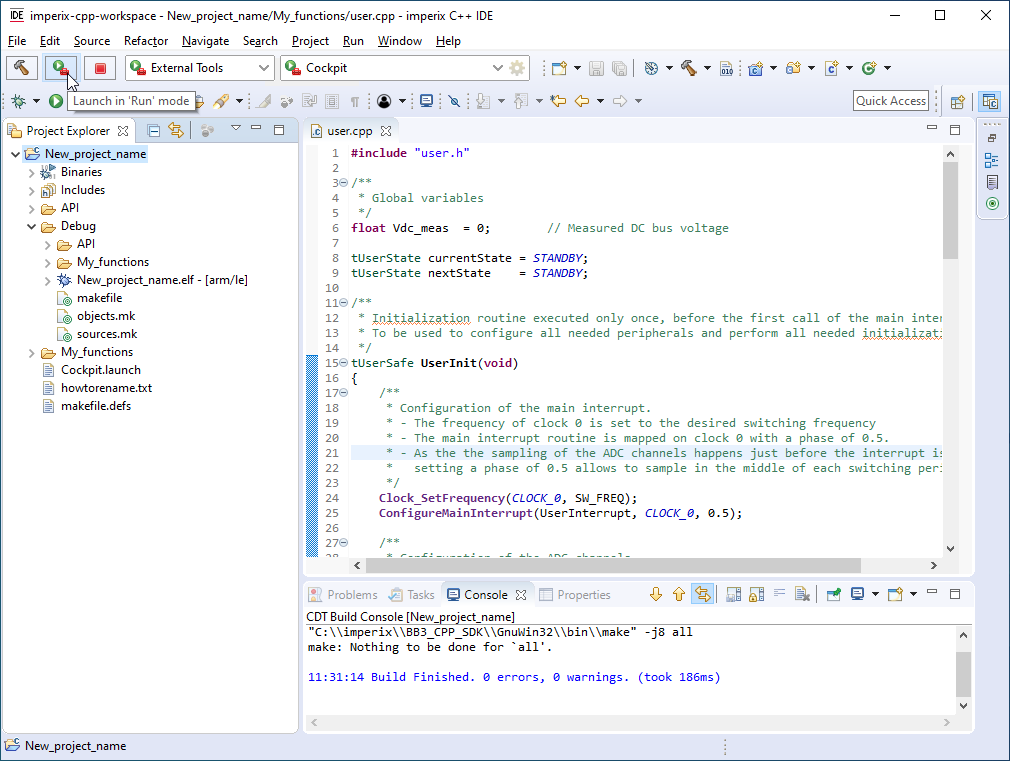
The code upload and flashing are handled by the imperix Cockpit utility software. The easiest way to launch Cockpit is to select your project and click on the “run” icon, directly within the imperix C++ IDE, as shown in the screenshot below. Cockpit opens automatically and loads the executable onto the connected B-Box or B-Board.
Related getting-started instructions are available in Programming and operating imperix controllers.


